Heater Instal - IP 40
- By
-
 Lester & Helen Gabriel
- Added
- Album
- Heater Instal - IP 40
- Category
- Air Conditioning
- Views
- 1000
Comments 3
 Lester & Helen Gabriel
Comments 3
Lester & Helen Gabriel
Sincere thanks to people on the forum and factory staff, but notably Judith Jacobsen who helped us achieve "higher order thinking" and a good outcome.
0 Likes
Lester & Helen Gabriel
Third pic shows the cut-outs - there were about twenty of 100 mm or 70 mm diameter, including for the four outlets. Installer could not believe it - normally has around 5 or 6 for a "main stream" late model production boat ..... that's why we have Island Packets!!
0 Likes
Lester & Helen Gabriel
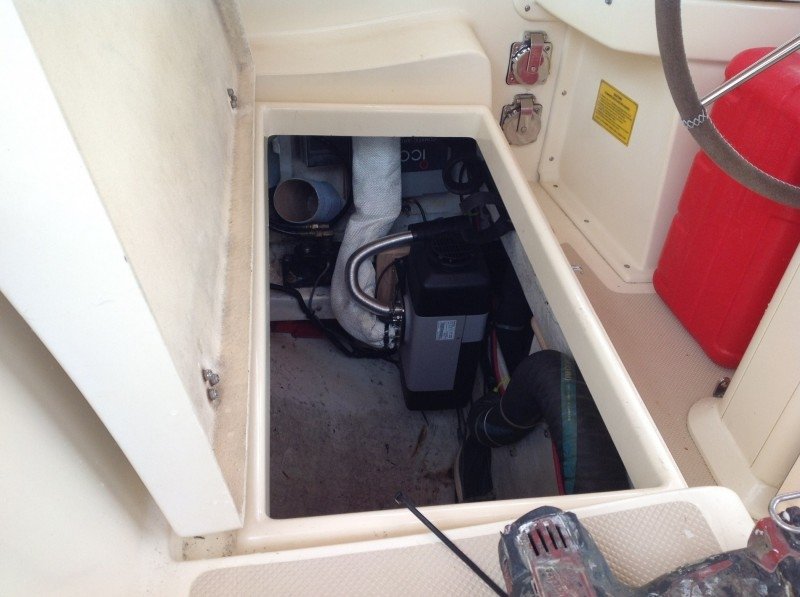
After hatch shows the heater positioned (intake upwards) to allow 90 mm duct to cut across to the port side in the cavity aft of the stuffing box. Then under the aft bunk, through the cabinets in the aft cabin, under the shelf in the head, then dropped down to the most inaccessible stowage compartments behind the port midships bunk. Then through the bottom of the hanging lockers (main cabin and fore-cabin), then the lowest shelf of the lockers and through to the forward head vanity locker. We stepped down to 60 mm ducting behind the port midships bunk.
Outlets are in the aft cabin, the aft end of under the port midships bunk, the forward end of the forecabin hanging locker and finally the forward side of the forecabin vanity.
Professionally installed (never done an IP until now though). Very happy with the result.
We looked to work our way forward along the starboard side of the centre line, until we met the tanks, then to go further outboard. However this was not possible as we have the Ventura Feed Pump in the cavity under the cabin sole - blocking the way.
The position of the Clark Pump in the after hatch (and other gear) also limited the location options for the heater.
0 Likes